How to set up a WordPress website on a VPS in 1 hour?
Being a PHP developer for the last 5 years and an explorer since I don’t know when I was pretty amazed by how easy it is to build and setup up a WordPress website on a virtual private server (VPS). Just by following a few blog posts, executing a few commands on my terminal, and configurations, I was in a position of working on my first blog. The first blog has to be around this as it will be helpful for anyone else looking for a good resource on setting up a website.
Let’s dive right into the exact steps which you have to follow to set up a working website. A few points to be noted: Although I have set up a WordPress website, you are free to set up an application using any other PHP framework or technology. I have also highlighted the usage of best practices for security and performance and as a bonus, I have also added cost at every relevant step to make your decision of setting up a website easier.
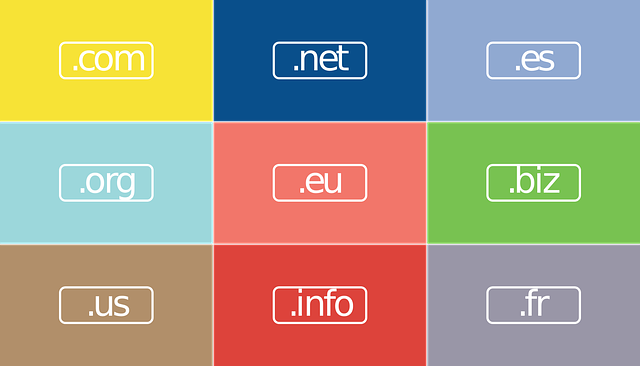
Purchasing Domain (5 minutes, $1 (INR 75))
Well, that’s the very first step that you should be doing if you want to set up a website. Without it, you will have to memorize the IP address of your server (2nd step) and use that to access your website. There are a few websites creating services such as Google Sites, WordPress.com, Squarespace, etc which will let you create a website and use a subdomain of your choice to access it as well. This is perfectly fine in case you just want a simple, limited feature, static website. But these websites don’t really give a premium feel or satisfaction of owning a website. These are just like cab rides, helpful in commuting but don’t give you a feel of owning a car.
You can purchase a domain from any of ICANN’s approved vendors such as GoDaddy or BigRock. It can take up a lot of time to think about what domain name to go with and then also ensure it’s available. For now, I am assuming you already have one in mind and it took you 5 minutes to purchase it for $1. It is always a good idea to go with a cheaper one in case you aren’t really sure if you will have the time and energy to use it.
Once, you have purchased the domain and logged into the management dashboard, you have to look for DNS and Nameserver configuration. The settings here control the most important behaviour i.e what happens when someone tries to access it as well as a few other things. You can either configure the exact IP address of the server (2nd step) in A record or use CDN like Cloudflare to manage your domain using Nameserver (3rd step). I would recommend going via CDN as that will give a huge performance boost to your website and secure your web server. More information related to DNS management can be checked from here.
Purchasing VPS and securing it (15 minutes, $10 (INR 750) / month)
I would recommend purchasing a VPS (Virtual Private Server) as in that way you get full root access to the server and are able to configure it as per your requirement. There are various other ways of hosting your website such as shared hosting with a cPanel access, using managed hosting web services or setting up your infrastructure on a public cloud service provider. VPS is perfect for all those who understand basic configurations like to experiment with the new types of applications and don’t want to spend a lot of money. Digital Ocean, Linenode, OVH etc are some of the websites that would allow you to purchase and spin up a VPS in 2-3 minutes. I prefer going with a Linux based (Latest Ubuntu Server OS) server but you are free to go with your preferred OS.
Once you have launched a new VPS and figured out how to access it via SSH, it is a good idea to secure it by following the instructions mentioned in this post.

Configuring Cloudflare (5 minutes, Free)
Cloudflare is an amazing service that allows you to manage your DNS with almost negligible DNS propagation time, caches the content of your website and reduces load time and protects your server from DDoS attacks. The free plan is enough for personal websites or websites with low traffic.
All you need to configure DNS management using Cloudflare is configuring naming servers on the website through which you purchased the Domain (Step 1) and IP Address of VPS purchased in the 2nd step. This post provides the exact steps for the configurations. Once you complete the configurations, your domain now becomes usable and it should redirect users to your VPS when accessed. Now, all you have to do is ensure the code responsible for rendering your website is executed once the request reaches your web server.

Setting up LEMP stack (20 minutes)
LEMP (Linux, Nginx, MySQL and PHP) stack is required to run WordPress or any other common PHP framework. Setting up of LEMP stack on a web server isn’t very different from your local machine. You will have no trouble at all if you have a good understanding of basic Linux commands. By following all the commands mentioned in this blog, you will be able to set it up very easily. Make sure you create a virtual host as well and configure the domain setting based on your domain names. Nginx recipe for WordPress can be accessed from the official website. For better security, you should create a different MySQL user that will be used by the WordPress codebase for interacting with the database. More details in this post.
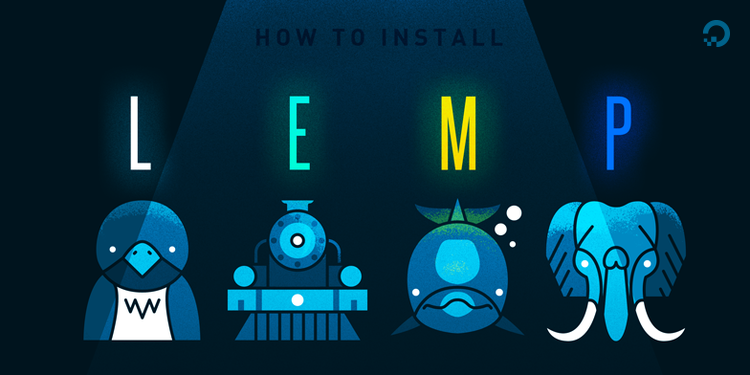
Image Credits: Joyk
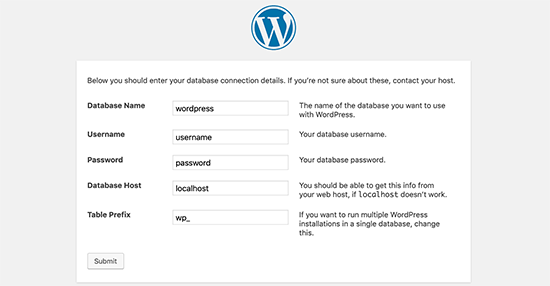
Setting up WordPress (10 minutes)
If you have configured everything correctly, you would see the installation page of WordPress on accessing your website. The installation would require configuring basic website settings and providing the details for the database created in the previous step. The official documentation provides more details on the installation and troubleshooting.
Website configuration and plugins (5 minutes)
And the last step is configuring your WordPress CMS as per your requirements. WordPress is pretty easy to configure and use but in case, you haven’t used it before you can check some of the tutorials available online. You should install all the important SEO, Performance and Security plugins after setting up your website. After that, find the appropriate theme and customise how your website looks. That’s it, start adding content and building your online presence.
Bonus: Hosting on Digital.com
You don’t need to be a technology expert to run an online business. Digital.com does the research for you, comparing the best products, services, and software to start or grow your small business website or online store.
Digital.com clarifies your options as you choose the right services to run your business – saving you time and money. Digital.com stands out because our team of researchers, writers, and experts have experience running online businesses and using software to meet their business goals.
Real-life experience is the foundation of Digital.com’s reviews:
They obtained trial accounts for each product so that our researchers could experience the onboarding process and user flow.
They interview power users of each product in order to incorporate their practical and long-term experience.
They summarize every user review available on the web using artificial intelligence to gauge overall user sentiment for each software product.
They devote weeks of researching, writing, and editing to develop each analytical review.
With this extensive research and testing, their team determines an overall Editor’s Rating to simplify your search.
At Digital.com, their team of experts has spent thousands of hours testing and utilizing all the tools available on the market in order to create and maintain our website. They took the best of what they learned and created this guide that breaks down web hosting so that anyone can easily understand how it works and find the one that best suits their needs. You can learn more about it here:
- Web Hosting
- What is web hosting?
- How to host a website?
- How much does it cost to host a website?
- How to choose a web hosting provider?